
Features
Roadside design safety checklist: what to photograph before work begins
Turn a pre-work safety checklist into a photo sequence that documents existing conditions and feeds maintenance, scheduling, and exterior comparisons.
What to take away
- Photograph in the order you would inspectstreet edge, access, utilities, sign face, canopy, then a wide frontage frame.
- Every frame needs a location and a date in the filename, or it will not help a scheduler six months later.
- Write notes as hazard, location, and fix, so one sheet can feed quotes, permits, and work limits.
- Do not climb for a shot. Use a long lens, a pole, or a drone flown within local rules.
- Keep one folder per site so the packet can serve a maintenance review or an exterior comparison.
The pre-work survey order for a roadside site
A roadside design safety checklist works best when the camera follows the inspection route. Walk the parcel the way a worker will, from the street edge to the rear service area, and shoot each stop before staging blocks the view.
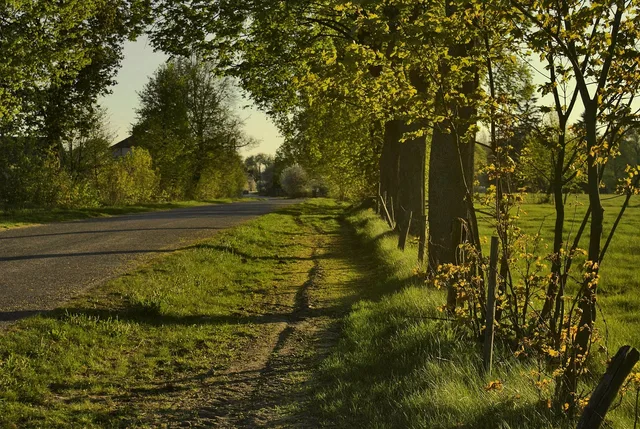
- Street edgecurb cuts, driveway radius, sight lines, and any sign base inside the clear zone.
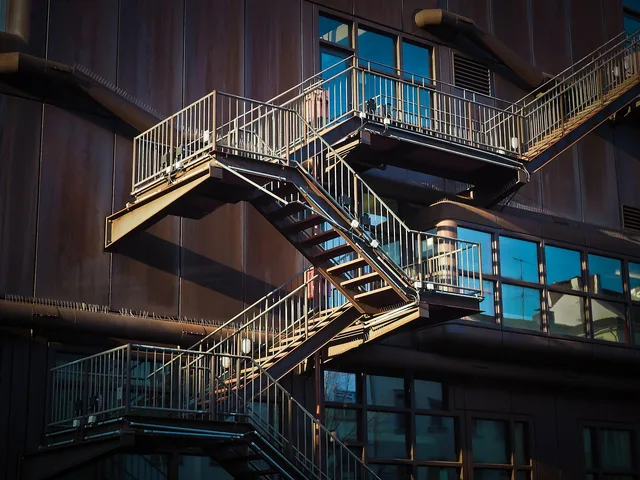
- Access pointsdoors, gates, ladders, roof hatches, and the path a lift or crane would take.
- Utilitiesmeters, service drops, gas risers, and shutoffs, each in a wide frame and a close frame.
- Exposed surfaces: sign face, canopy underside, and the wall where a new panel or fixture would land.
- Frontage pana slow sweep from one end to the other so later images have a reference.
A modern roadside design safety checklist written for 2027 asks owners to set work limits, log hazards, and plan escalation before crews mobilize. Read a modern roadside design safety checklist before the first visit to see how those limits are normally written.
What to photograph before crews arrive
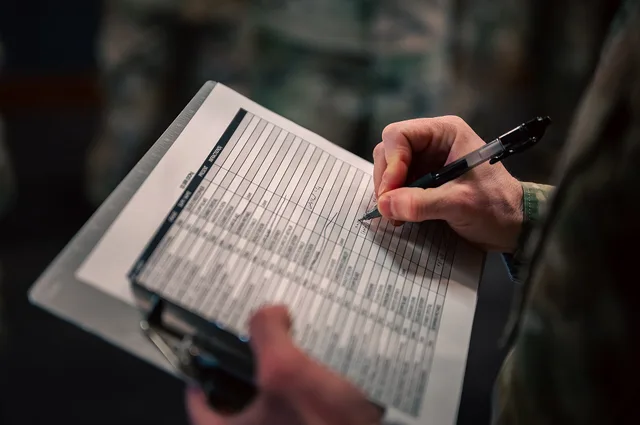
Use a fixed shot list so two surveyors produce comparable files. Check each line off before leaving the parcel.
- Fall protection and accessladder condition, roof edge, anchor points, and hatch hardware. Ladder rules shape how a canopy inspection is planned, so start with OSHA 1910.23.
- Neon and tube signs: tube count, transformer location, broken glass, remaining tube color, and mounting hardware.
- Sign cabinets and panelsporcelain enamel chips, rust blooms, fastener type, and repaint history.
- Ground planecracks, oil stains, drainage swales, trip hazards, and painted markings.
- Electricalpanel labels, breaker count, meter position, photocell, timer, and spare capacity.
Tube color is not a cosmetic detail. The National Park Service brief on neon documents how manufacturers mixed and labeled period colors, which helps when a rebuilt sign must match the original. See the neon preservation brief.
Fire and life safety conditions belong in the same packet. The NFPA 101 Life Safety Code sets requirements for existing buildings, including historic motels, and a change of use can trigger upgrades.
Example: a motel canopy and pole sign survey
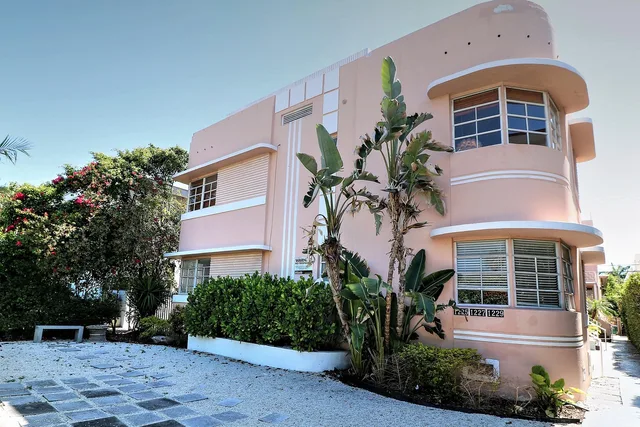
A two story motel with a pole sign and a drive through canopy is a common first packet. Shoot the canopy from the driveway, then from the walkway, then from directly underneath.
Motel canopy and pole sign survey
| Subject | What to shoot | What to note |
|---|---|---|
| Canopy underside | Wide frame, fixture close ups | Rust, panel gaps, fixture count |
| Pole sign face | Straight on, both sides | Tube breaks, missing letters, paint match |
| Ladder and hatch | Base, rungs, roof edge | Climb route, anchor points, cabling |
| Service panel | Door closed, door open | Label, breaker count, spare capacity |
Two frames per subject is usually enough. Add a tape measure in one frame when a replacement panel, fixture, or sign letter must be ordered later.
Records that feed maintenance planning
Keep one folder per site, named by address and survey date. Put the location in every filename so a scheduler can find the canopy frame without opening a report.
Comparing preventive, condition-based, reactive, and deferred work gets easier when the evidence already exists. Ask maintenance plan comparison questions before signing a service contract, because the images show which assets truly need scheduled attention.
Scheduling depends on other people's calendars. If you plan a roadside design studios trip around a studio's production schedule, the survey window may open for only a few days, so build the shot list first.
The same packet supports a motel exterior options checklist, letting a repaint, a sign rebuild, and a lighting change be judged against one set of images and one decision owner.