Guides
Part of How a roadside renovation planning workflow keeps budgets and approvals honest
Roadside renovation planning checklist: scope the work before you collect anything
Roadside renovation planning checklist for 2027: organize site evidence, limits, review questions, and the next honest decision for a U.S. property.
Roadside properties create an easy visual story: a sign, a canopy, a storefront, a road. Planning them is less simple. A useful first checklist separates what the team saw, what a record says, what someone wants to do, and what a reviewer has approved. That separation keeps a preliminary packet from becoming an accidental promise.
This is a planning checklist for a U.S. roadside building, lot, or former service property. It does not decide permits, environmental status, construction methods, accessibility obligations, or historic treatment for a particular address. Those decisions require the relevant property records and qualified review.
What to take away
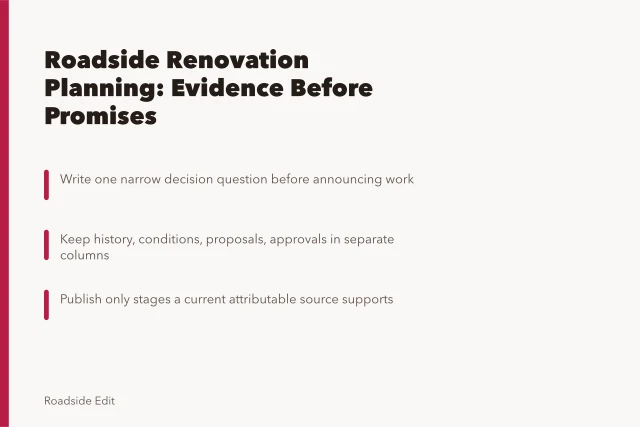
- Begin with the decision that has to be made now, rather than a broad renovation wish list.
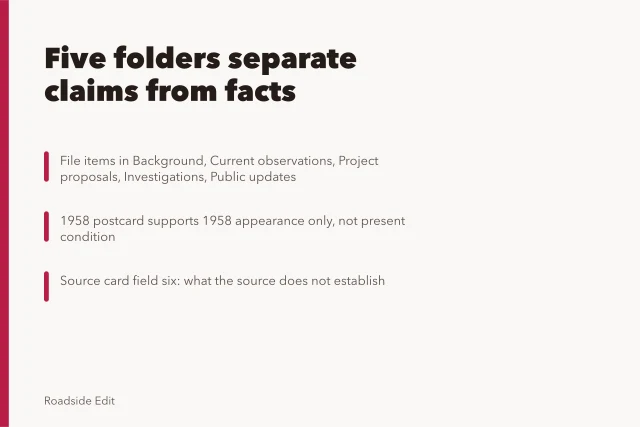
- Keep observations, historic records, proposals, and approvals in separate fields.
- Make each unknown visible. A blank should prompt a next step, not an invented answer.
- Give access, site condition, ownership, regulation, and public use their own questions.
- End with a dated decision packet that says what the record supports and what it does not.
1. Name the decision before collecting everything
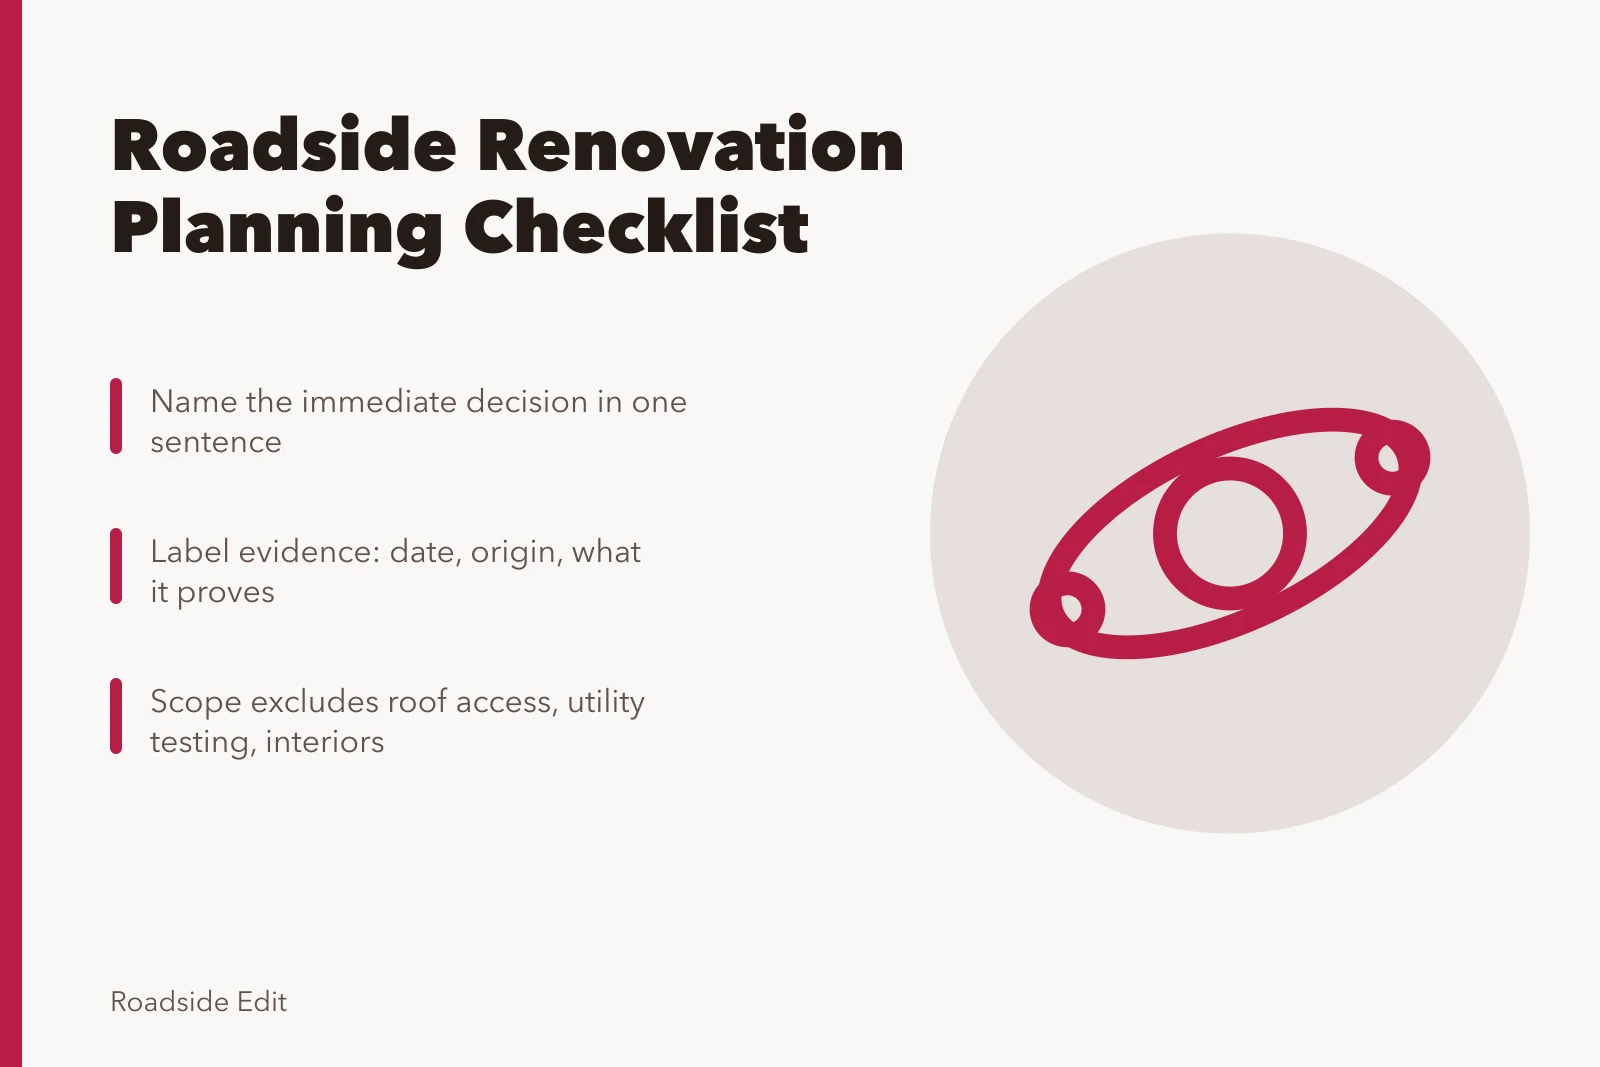
Write one sentence that states the immediate decision. It might be to commission a condition assessment, request owner permission for a visit, prepare a funding application, or pause a concept until a title issue is checked.
A question such as "Should we renovate this place?" is too large to guide a meeting. "Should we fund a roof and exterior assessment for the former station at this parcel?" can be acted on.
Put these fields at the top of the worksheet:
| Field | What to record |
|---|
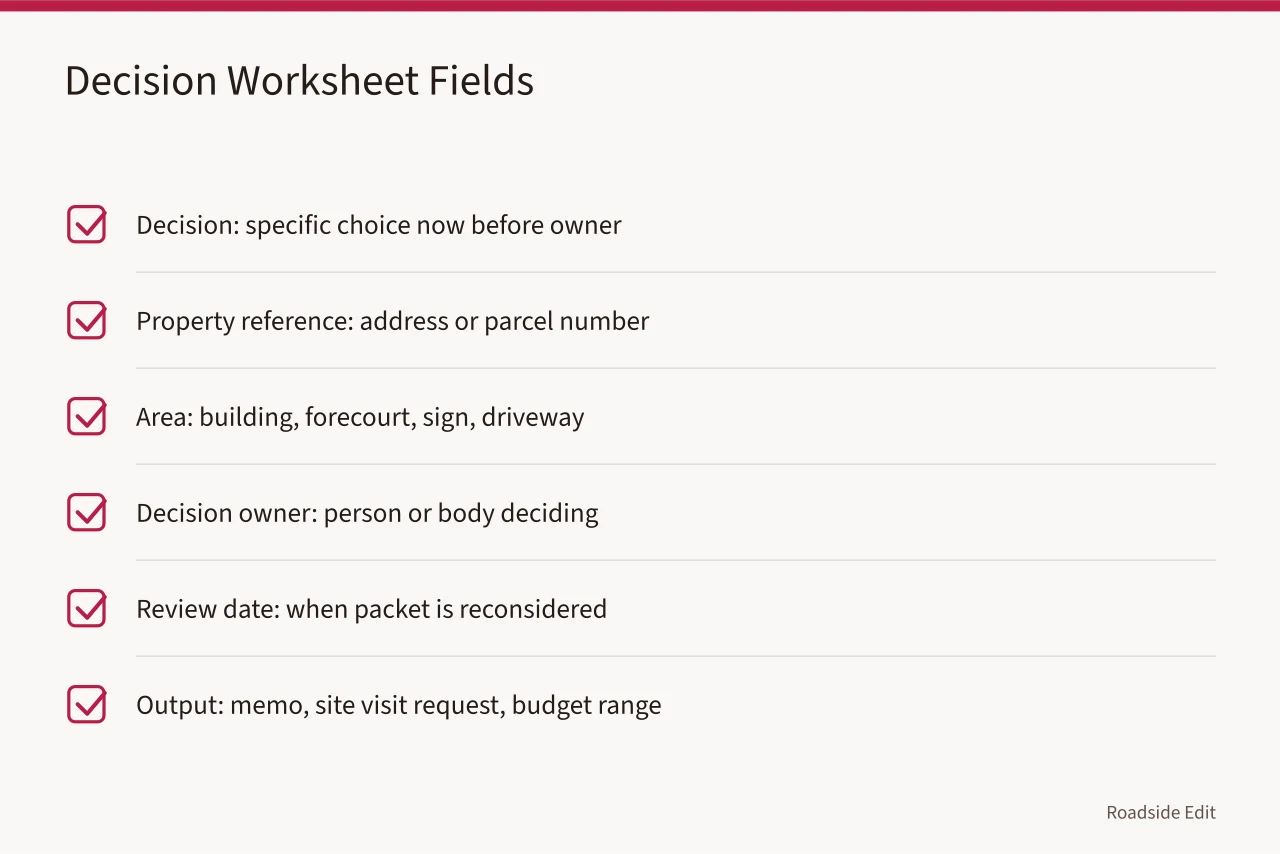
This first section also sets a limit. A planning memo is not a construction drawing. A photograph is not a structural finding. A request for information is not permission to enter a site. State that limit in plain language where the packet will be shared.
2. Build an evidence log, not a stack of attachments
Give every file a date, origin, and a short note on what it can prove. Archives can hold firsthand records like letters, reports, photographs, maps, and drawings. But an old item is not a current condition report.
The National Archives explanation of archives reminds us that records are evidence of their time and context.
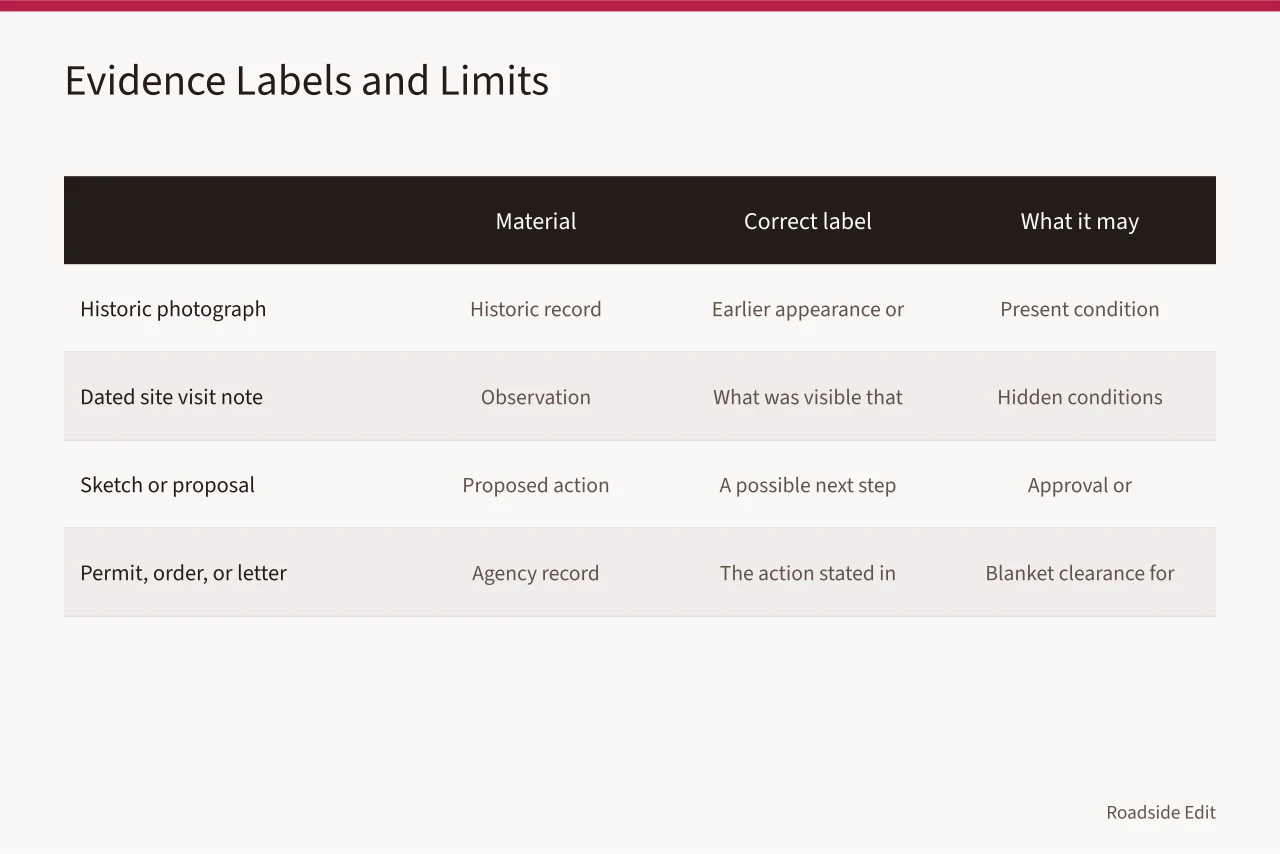
Use four labels consistently:
| Material | Correct label | What it may support | What it cannot settle alone |
|---|---|---|---|
| Historic photograph | Historic record | Earlier appearance or use | Present condition |
| Dated site visit note | Observation | What was visible that day | Hidden conditions |
| Sketch or proposal | Proposed action | A possible next step | Approval or feasibility |
| Permit, order, or review letter | Agency record | The action stated in that document | A blanket clearance for unrelated work |
EPA's reuse-assessment guidance defines due diligence as obtaining and checking a property's attributes, condition, ownership, and reuse potential. Its examples separate work by environmental professionals, real estate professionals, attorneys, and engineers.
Use that division to route questions to the right person. But the guidance does not establish the condition of any one roadside property.
For each evidence item, include the source, date, author or creator if known, file system location, and the claim it supports.
Add a final column labeled "gap or follow-up." That column is where a careful planner earns trust. If a photo shows staining, the note can say "staining visible in 2024 image" and name the next review. It should not call the material contamination.
3. Draw a hard line around the scope
The scope should answer five questions: what is being examined, why, by whom, using which materials, and what will count as the end of the task. Include exclusions. For example, an exterior documentation task may exclude roof access, utility testing, subsurface work, interior inspection, or code analysis.
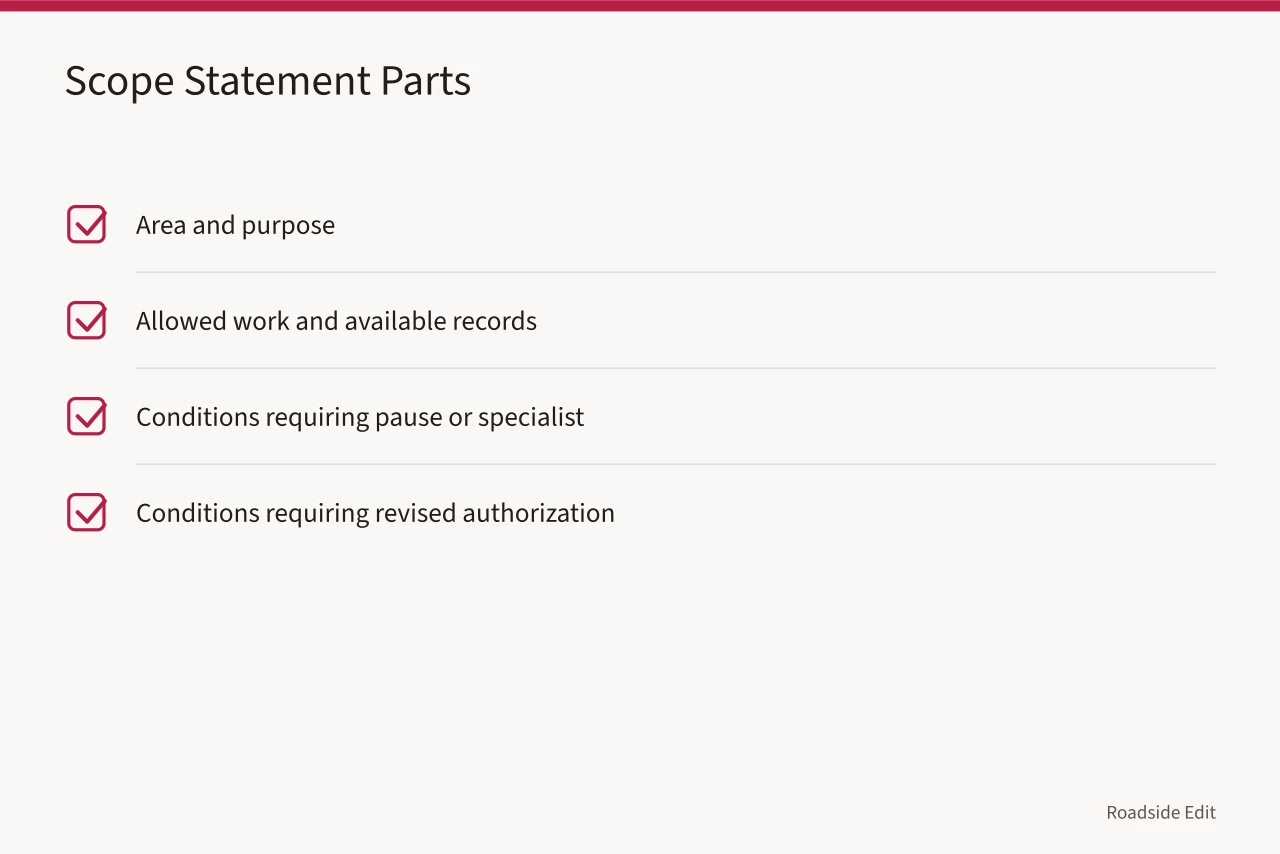
Scope boundaries reduce false certainty and make estimates easier to compare. They also stop later readers from mistaking an initial walk-through for a full assessment. A practical scope statement has three parts:
If a roadside property may have historic considerations tied to federal funding, permitting, licensing, or approval, make that a review question rather than an assumption. The Advisory Council on Historic Preservation's Section 106 introduction explains that federal agencies consider effects on historic properties when a federal or federally assisted undertaking may affect them.
That process is not automatically triggered by age, local interest, or a roadside theme. The right checklist entry is therefore: identify the federal role, if any, and ask the agency or preservation professional what review applies.
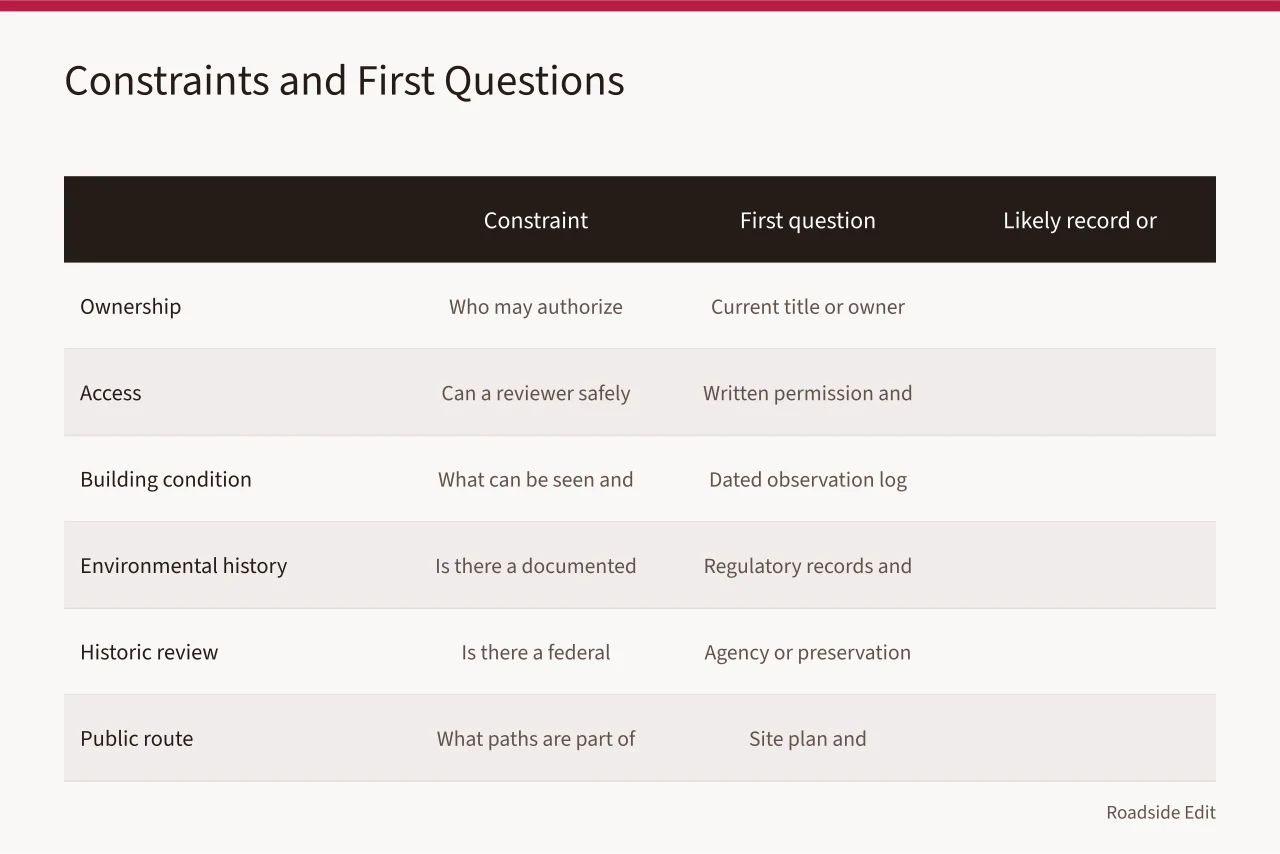
4. Separate constraints that need different answers
Do not write one line called "risks." Give each issue its own row and owner. A damaged sidewalk, an easement, an unknown tank, a closed restroom, and an uncertain title record are not the same question. They lead to different evidence and different decisions.
For a project that changes public approach routes, accessibility is not a decorative last check. The U.S. Access Board's guide to accessible routes explains that, where required, routes connect site arrival points and accessible entrances. Rules cover paths, ramps, doorways, and other components.
The guide is not a property-specific ruling, but a reason to identify the route on the plan early and seek the review that fits the project.
5. Plan the site visit so observations remain useful
Before any visit, set the visit purpose and the areas that may be observed. Carry a copy of access permission if the owner requires it. Record the time, weather when it affects visibility, people present, and portions that were not accessible. Use a repeatable photo naming pattern such as date, location, direction, and sequence number.
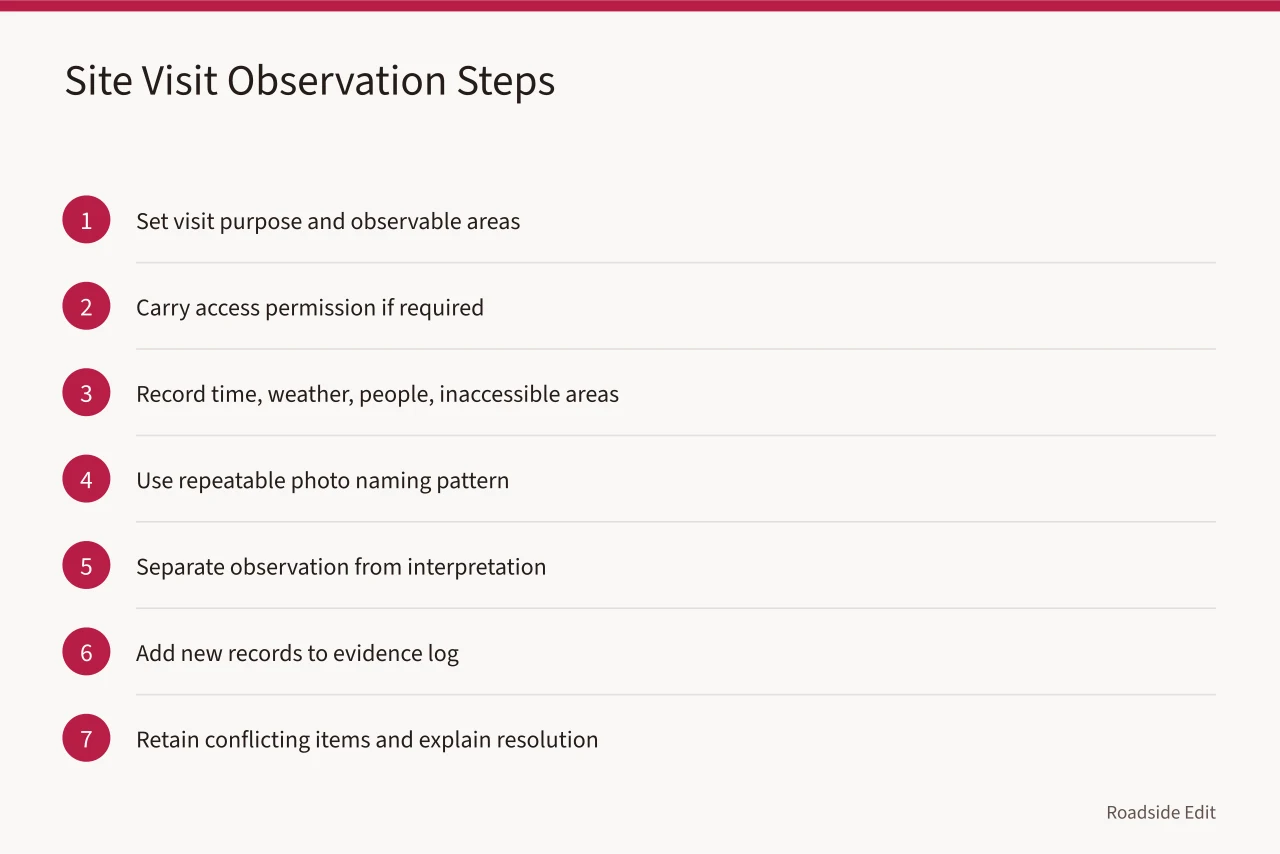
During the visit, separate an observation from its interpretation. "Loose flashing visible at the east canopy edge" is an observation. "The canopy is unsafe" is a conclusion that a checklist writer should not make from a ground-level image. The distinction protects both the future reader and the owner.
After the visit, add each new record to the same evidence log. If information conflicts, retain both items and explain what needs resolution. Do not overwrite an older record simply because a newer note exists. The earlier item may still explain why the plan changed.
6. Assemble a decision packet someone can audit later
A good packet should allow a decision maker to find the evidence, understand the request, and see the remaining unknowns without reading every attachment. Use a short cover note and include the following:
- The decision question and deadline.
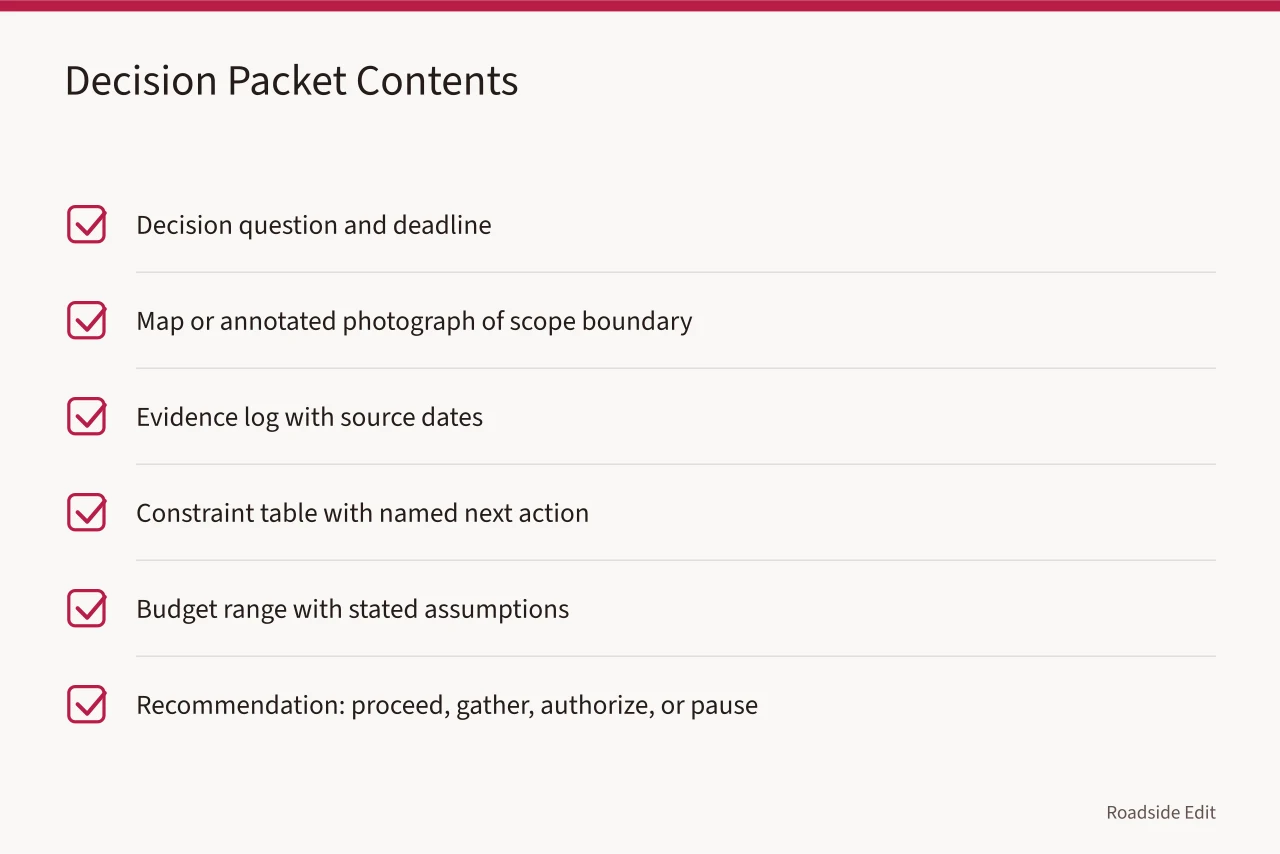
Date the packet and retain the version that was presented. If the group chooses a next step, write down who made the choice, what materials they considered, and what the decision does not authorize. That record makes later corrections ordinary instead of awkward.
Common questions
Does every property need every checklist item?
No. Remove items that do not relate to the decision, but say why. A short note such as "interior work is outside this phase" is better than leaving the subject invisible.
Can this checklist establish that work is safe or permitted?
No. It organizes planning information. Safety, permitting, environmental, accessibility, and technical determinations need the applicable property-specific review.
What should happen when a later report changes the plan?
Add the report to the evidence log, date the change, and revise the affected scope or recommendation. Keep the earlier version so the decision history remains clear.